Six Pumpkin Carving Hacks
When the leaves on the trees starting to turn into beautiful colors, when the frost is on the pumpkins, you know it’s time to get ready for Halloween!
In order to create excitement for your families and friends on the trick or treat night, you’ll need to do a lot of preparing. Halloween home decorations, Halloween customs, trick or treat candies, and of course, the jack-o’-lanterns, will add Halloween cheer to your porch.However, Jack-o’-lantern making can be time consuming and troublesome. In this article, we are going to show you 6 pumpkin carving hacks to help you carve the jack-o’ lanterns like a pro!
1. The Cookie-Cutter Trick
This cookie-cutter trick is not only helpful for those who struggle with carving, but it also helpkids to make their own jack-o’-lanterns safely without using sharp carving tools. To make a cookie cutter jack-o’-lantern, you need to find some cookie-cutters you like, then use a mallet togently hammer the cookie cuttersinto the pumpkin. You can punch the cookie cutters all the way through the pumpkin, or use the cookie cutter impressions on the surface of the pumpkin as stencils for carving.
2. Pumpkin Preservations
Freshly carved pumpkin will rot after just a few days without proper preservation treatments. You can use the following methods to prevent your masterpiece from molding and rotting.
Method 1: Bleach
Add one teaspoon of bleach to per gallon of water. Then soak the freshly carved pumpkin in the bleached water for 4-6 hours. You can also spray the bleached water on the carved parts and inside of the pumpkin daily for extra level of preservation.
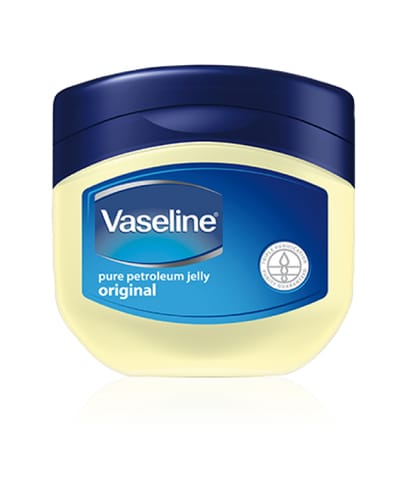
Method 2: Vaseline
Apply Vaseline over the carved parts and inside of the pumpkin can prevent the pumpkin from dehydrating and molding.
Method 3: Pumpkin Fresh
Get a pumpkin preserver called” Pumpkin Fresh” from Walmart or any major stores, and apply it to the crafted parts and inside of the pumpkin to preserve the pumpkin and prevent mold growth.
You can also use mineral oil or cooking oil to preserve the pumpkins. They work in similar ways to the preservation treatments we introduced above.
3. Carving Tools
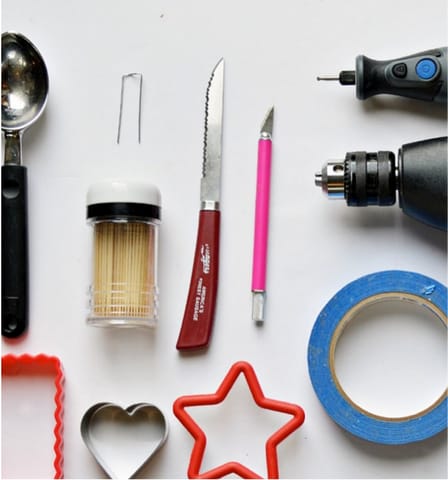
Don’t waste money on expensive Halloween carving tools that you will only use once a year! Go through your kitchen and tool boxesto find the tools that can be usedto make jack-o’-lanterns. They are not only cost efficient but often more effective than those specialty tools.
Tool 1: Electric drills
If you need to create holes on your jack-o’-lanterns, you can use electric drills to create perfect circles in different sizes.
Tool 2: Dremel
Dremel tools offer a wide variety of bits and attachments. It can help you quickly easily remove pumpkin material to create a design. Dremel tools can also be used to carve and etch pumpkins.
Tool 3: Serrated Knife
Serrated knives have a saw-like blade which is perfect for cutting through pumpkin flesh to make jack-o’-lantern’s eyes and mouth or the hole for the candle.
Tool 4: Ice Cream Scoop
A large ice cream scoop works great to get the pumpkin seeds and guts out quickly. Just be careful not to scrape the interior of the pumpkin too thin. Otherwise it will be difficult to carve.Tool5: Printer &Stencil& Tape & Pin.
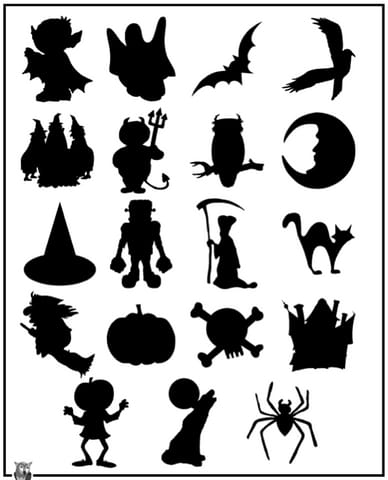
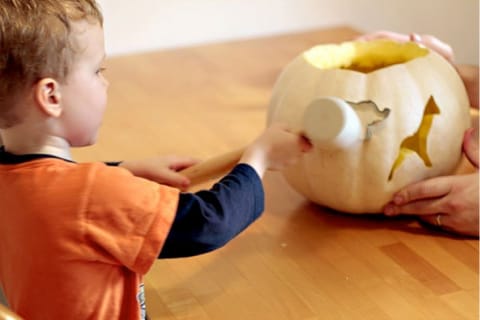
If you don’t feel comfortable freehandingyour pumpkin design, print some easy-to-make jack-o’-lantern stencils online to guide your carving. Use masking tape to hold the stencils onto the surface of the pumpkin and carve the stencils to the outside of the pumpkin. You can also use pins to poke through the lines of your stencils and follow the dot-to-dot pattern to carve the pumpkin.
4. Artificial Light

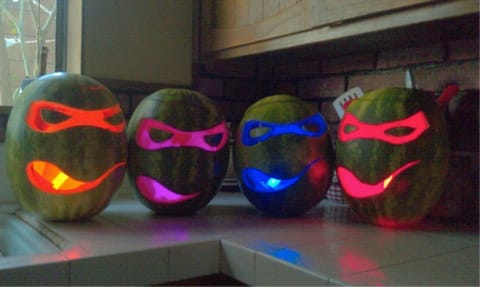
Traditional candles will damage the jack-o’-lantern quicklyand cut the life of your master piece short.Alternatively, you can use battery-powered candles, solar-powered lights, and even glow sticks to light up the jack-o’-lantern. You can also choose different light color to cast a spooky and ghostly glow.
5. Dry-Erase Markers
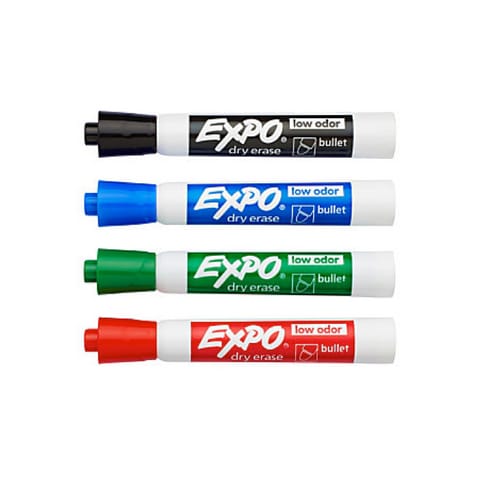
Do not use non-washable marker or sharpies on the pumpkin because you may leave a permanent mark on the pumpkin if the first sketch fails. With dry-erase markers, you can always erase the mistakes and start over again.
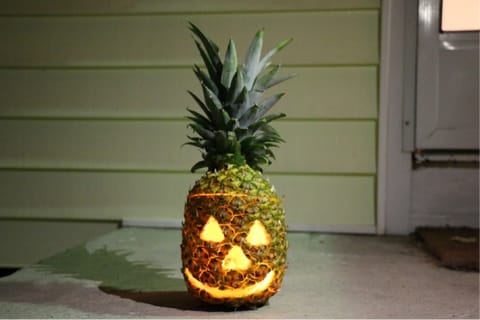
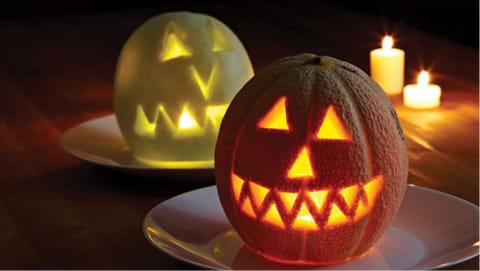
6. Add creativity into carving
Break away from tradition this Halloween by integrating some humor and creativity into your pumpkin carving and decoration. These unexpected jack-o'-lanterns are sure to spice up your seasonal porch decor.
- Lifewit Household
Comments 0